Fitting a Hi Power thumb safety: how hard is it?

Status
Not open for further replies.
There are similarities and differences between fitting a Hi Power safety and a 1911 safety.

Similarities are - Both must block the sear to prevent any sear movement while on safe. The blocking surface of the safety is in the same relative location and engages the sear at the same relative point. Any trigger job work needs to be finished before fitting a new safety. If you do a trigger job later the safety may not have enough material left to refit, necessitating replacement or welding.

Beyond that things differ. The Hi Power safety shaft is also the hammer pivot pin making for a pain in the rear while fitting due to the need to disassemble. The slide must be on while testing the safety fit due to the sear lever mounted in the slide.

First fit the safety to the stripped frame. Insert it and test the feel moving it between the two positions. If it is too soft/easy to move, the detent plunger can be made sharper to enter the detents deeper for a more positive feel. Too hard to move? Dull the detent plunger.

Color the safety engagement lug with layout fluid or a magic marker. Reassemble the frame with the fire control parts and reinstall the slide. The safety will be in the off position. Cock the hammer. Try to move the safety into the on safe position several times. It should not go. Remove the safety and look at the lug for signs of contact with the sear. File a couple stokes with a fine cut file, re-color, and reinstall. Repeat until the safety will move into position with some resistance. Continue the process with a stone instead of a file. Stop when the safety will enter the on safe position with a slight bit of resistance and allow zero movement of the sear when you pull the trigger.

When checking for sear movement in the above process, do not depend on the "click" test. Hearing can be faulty. Look down into the space between the slide and frame in front of the hammer. You can see the sear nose where it engages the hammer. When you put the safety into the on safe position, pull the trigger while watching for sear/hammer movement. A faulty safety fit will allow the sear to rotate slightly. That will be visible. A good safety fit will not allow that movement.
 
Just to add to the excellent BBBBill's post - you can make yourself a sear assembly tool as shown on page 9 in the Field Service Manual: http://www.midwestgunworks.com/field_service_manual/browning_hi_power_field_service_manual.pdf
I prefer to use a longer hook, that rests in the grip screw hole in the frame because it's more secure that way - no chance of slipping from the frame just when you finally balanced everything with your third hand and you reach for that lousy sear pin with your fourth hand... And, if you have a spare ejector, you can drill out the locking notch on the safety pin hole and use it like a frame filler allowing you to remove & insert the safety with the gun assembled. You just need a close fitting slave pin for the hammer.

Best,
Boris
 
Last edited:
BBBBill's post was most excellent. You should be a technical writer sir.
 
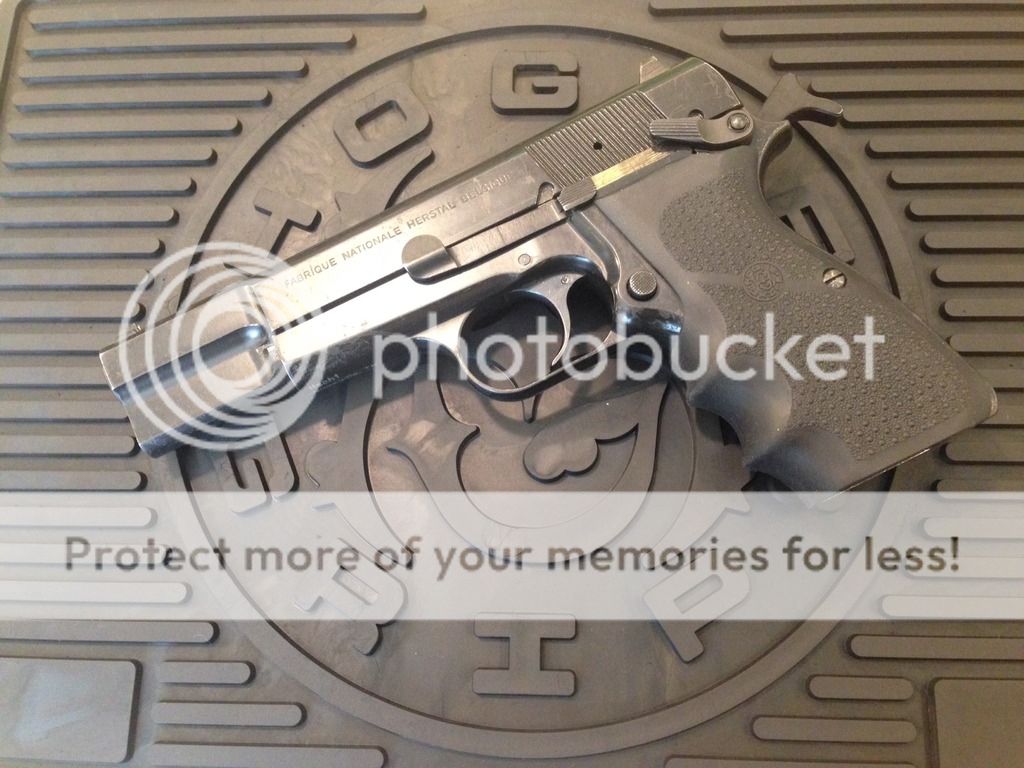
Well I got it installed after a lot of fiddling. I got a crappy ambi safety from Numrich and I had to fit the frame boss on the safety before it would even enter the frame, then had to fit the shaft of the safety before it would even enter the hammer, then had to carve and file down the right grip for the stupid ambi safety tab and body, and then had to fit the front portion of the sear shelf stud thing so it wouldn't interfere with the forward frame hole... but it's working, if quite stiff. (still more functional than the basically useless OEM safety which is so stiff it can't be used one handed or quickly.) This type is the common 1911 style with a split/keyed shaft rather than the Browning type that is a complete shaft with the right side lever pinned on (which I would prefer). The safety moves freely with just the hammer installed, and moves freely within the hammer hole, but once everything is put together it drags quite a bit. The sear doesn't move at all with the safety on, so that much is good.

What should I look at next? I fear the tolerances are just off somewhere and the shaft is warped so that when it's all buttoned up it's just binding somewhere.

I was able to do it without creating a hammer holding tool but I will definitely make one for the next go round.

Weird thing is the OEM safety does the same thing. Moves freely when in the frame alone, moves freely in the hammer, and moves freely when just the hammer is installed... but when all parts are in place it is very stiff.

Ideas welcome.
 
Did you relieve the sear engagement lug on the safety enough? If hammer hooks are not altered and you have a positive sear engagement, little movement (about 0.003) on the sear when safety is engaged is OK.
 
Also, take a look at the detent engagement area. Sometimes there is a little "casting residue" on the lever facing the detent that creats a bit of drag. I found that to be a problem when slicking up my tiny OEM safety lever.
 
Did you relieve the sear engagement lug on the safety enough? If hammer hooks are not altered and you have a positive sear engagement, little movement (about 0.003) on the sear when safety is engaged is OK.
Thanks. I didn't touch the sear engagement lug other than the front edge where it was rubbing along the hole in the frame.
 
Also, take a look at the detent engagement area. Sometimes there is a little "casting residue" on the lever facing the detent that creats a bit of drag. I found that to be a problem when slicking up my tiny OEM safety lever.
Detent seems fine and moves well when just the safety and hammer are installed. It's either some misalignment/binding in the safety shaft/hammer interface, or the ejector plate, or the sear I guess. As least that's all I can figure.
 
As an addendum to BBBBill's fine post... regarding the ease with which the safety moves in and out of its detent. A quick fix for the old style "mushy" feeling safety is to replace the spring and plunger with the same parts from a later model. The later model plungers are a little sharper, as BBBBill suggests will make the safety a bit more positive feeling. Once you do this, it will feel much more like the positive feel of a 1911 safety. It gives you a lot better feeling if you carry cocked and locked. I got this tip from a retired Browning gunsmith out of the St. Louis repair facility.
 
1KPerDay, the front of the safety tab contacts the tab at the back of the sear. When the hammer is all the way down (you can engage the safety in half cock) the sear is rotated up by the hammer thus preventing the safety to engage - basically it's the same operation as a 1911 safety. Look at the pics for the contact surfaces. When fitting a new safety you must only file on the front of the safety tab, as shown on the first pic:

421543.jpg

Browning_Hi_Power_Sear.jpg
 
Well I got the new extended/ambi Browning factory safety fitted. MUCH better experience than the crap from numrich, which I threw in the trash. The only fitting was a very small amount on the front of the tab. My only gripe is the plunger from the old israeli safety, and the one from numrich, is round rather than the triangular profile pictured above, and the new one didn't come with one (and I didn't think I needed to order one). So with the rounder detent it doesn't snick-snick into position but it does work. If I ever have to take it apart again I'll put a new sharper detent/plunger in.

Thanks all for the help. Now I can actually shoot this pistol in local competitions.


FullSizeRender_zpsjfp1snvc.jpg

FullSizeRender_zpsn48qlxtl.jpg
 
Status
Not open for further replies.
Back
Top