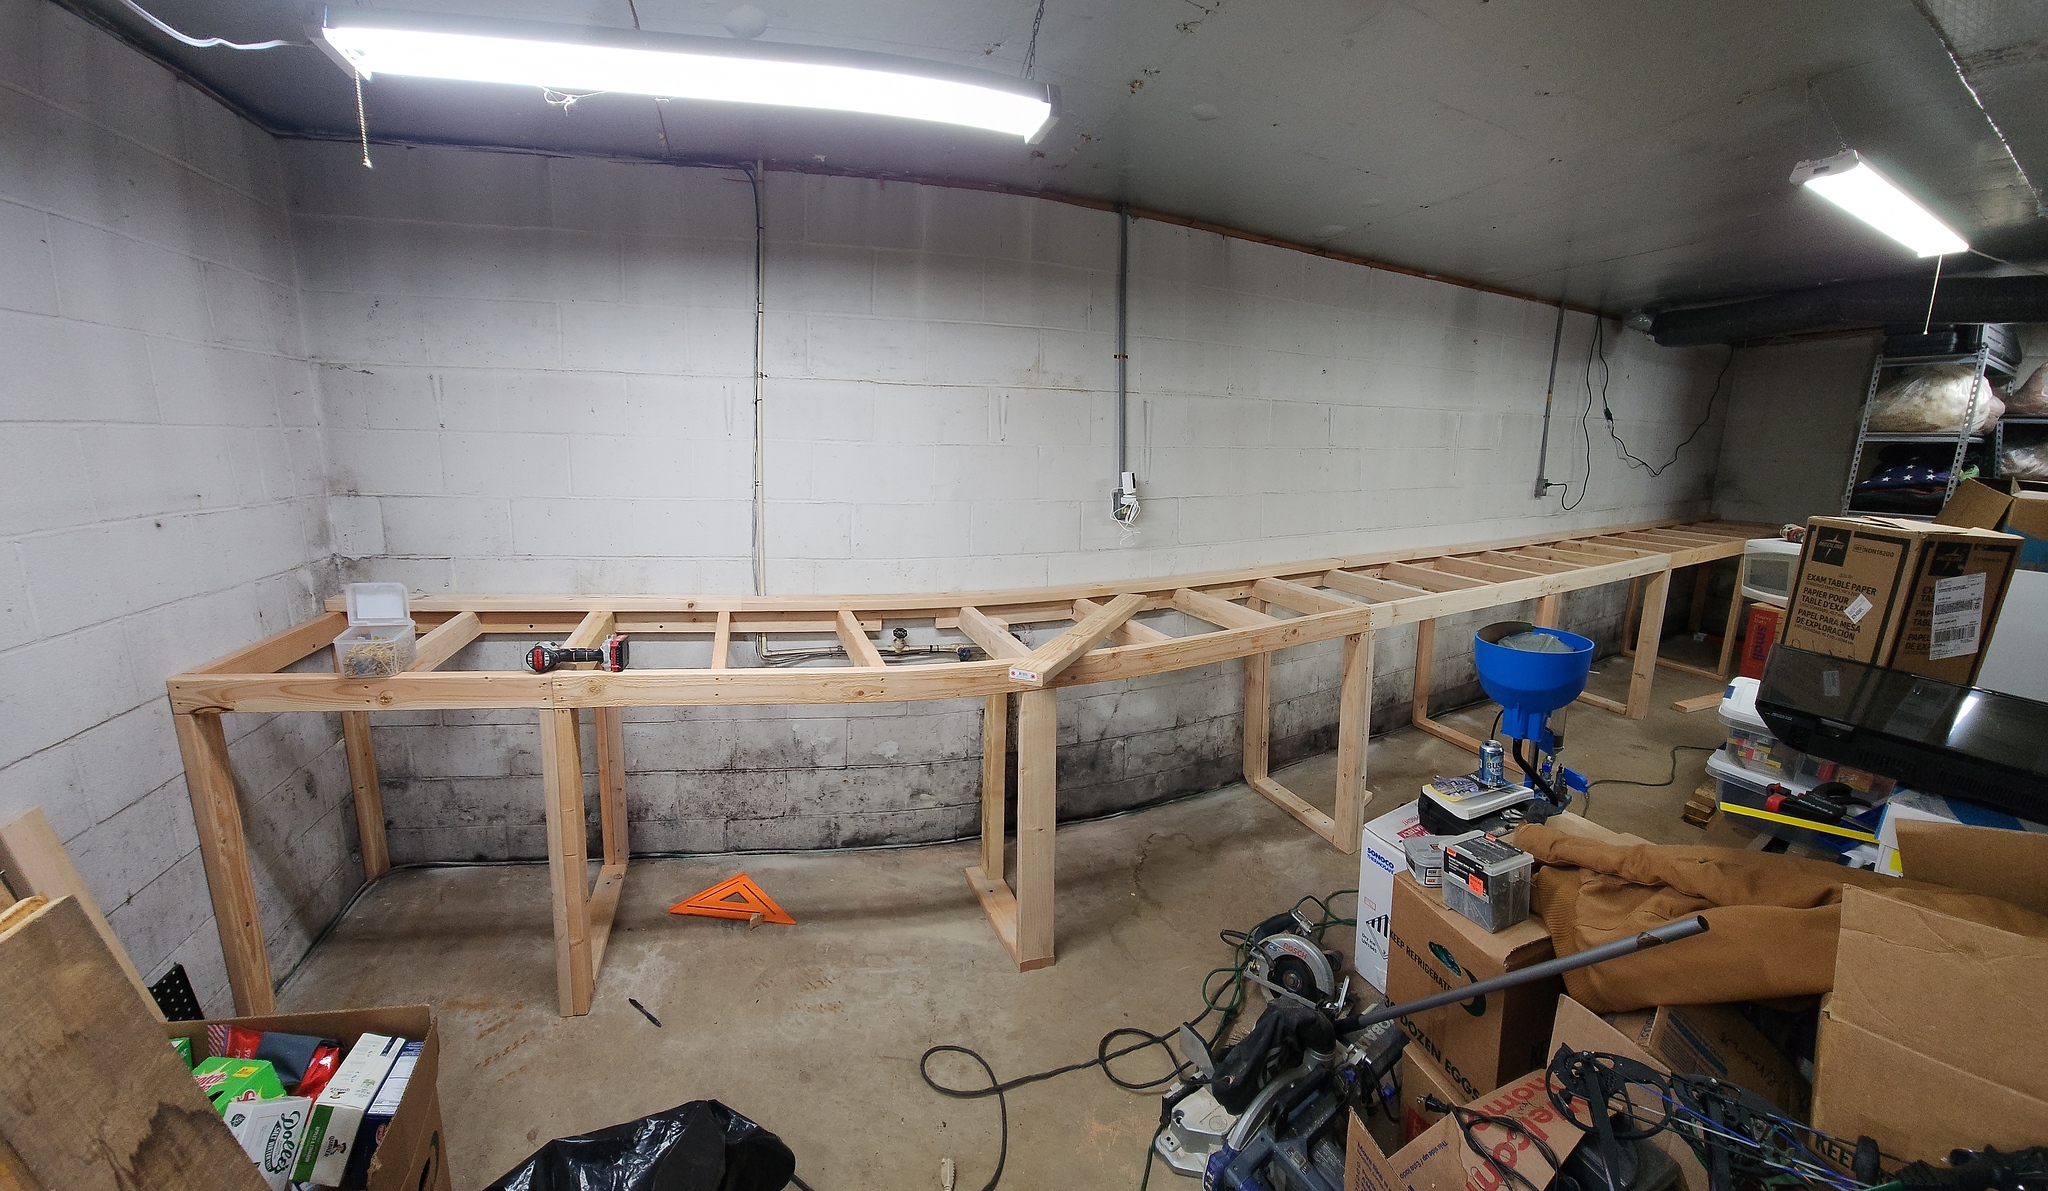
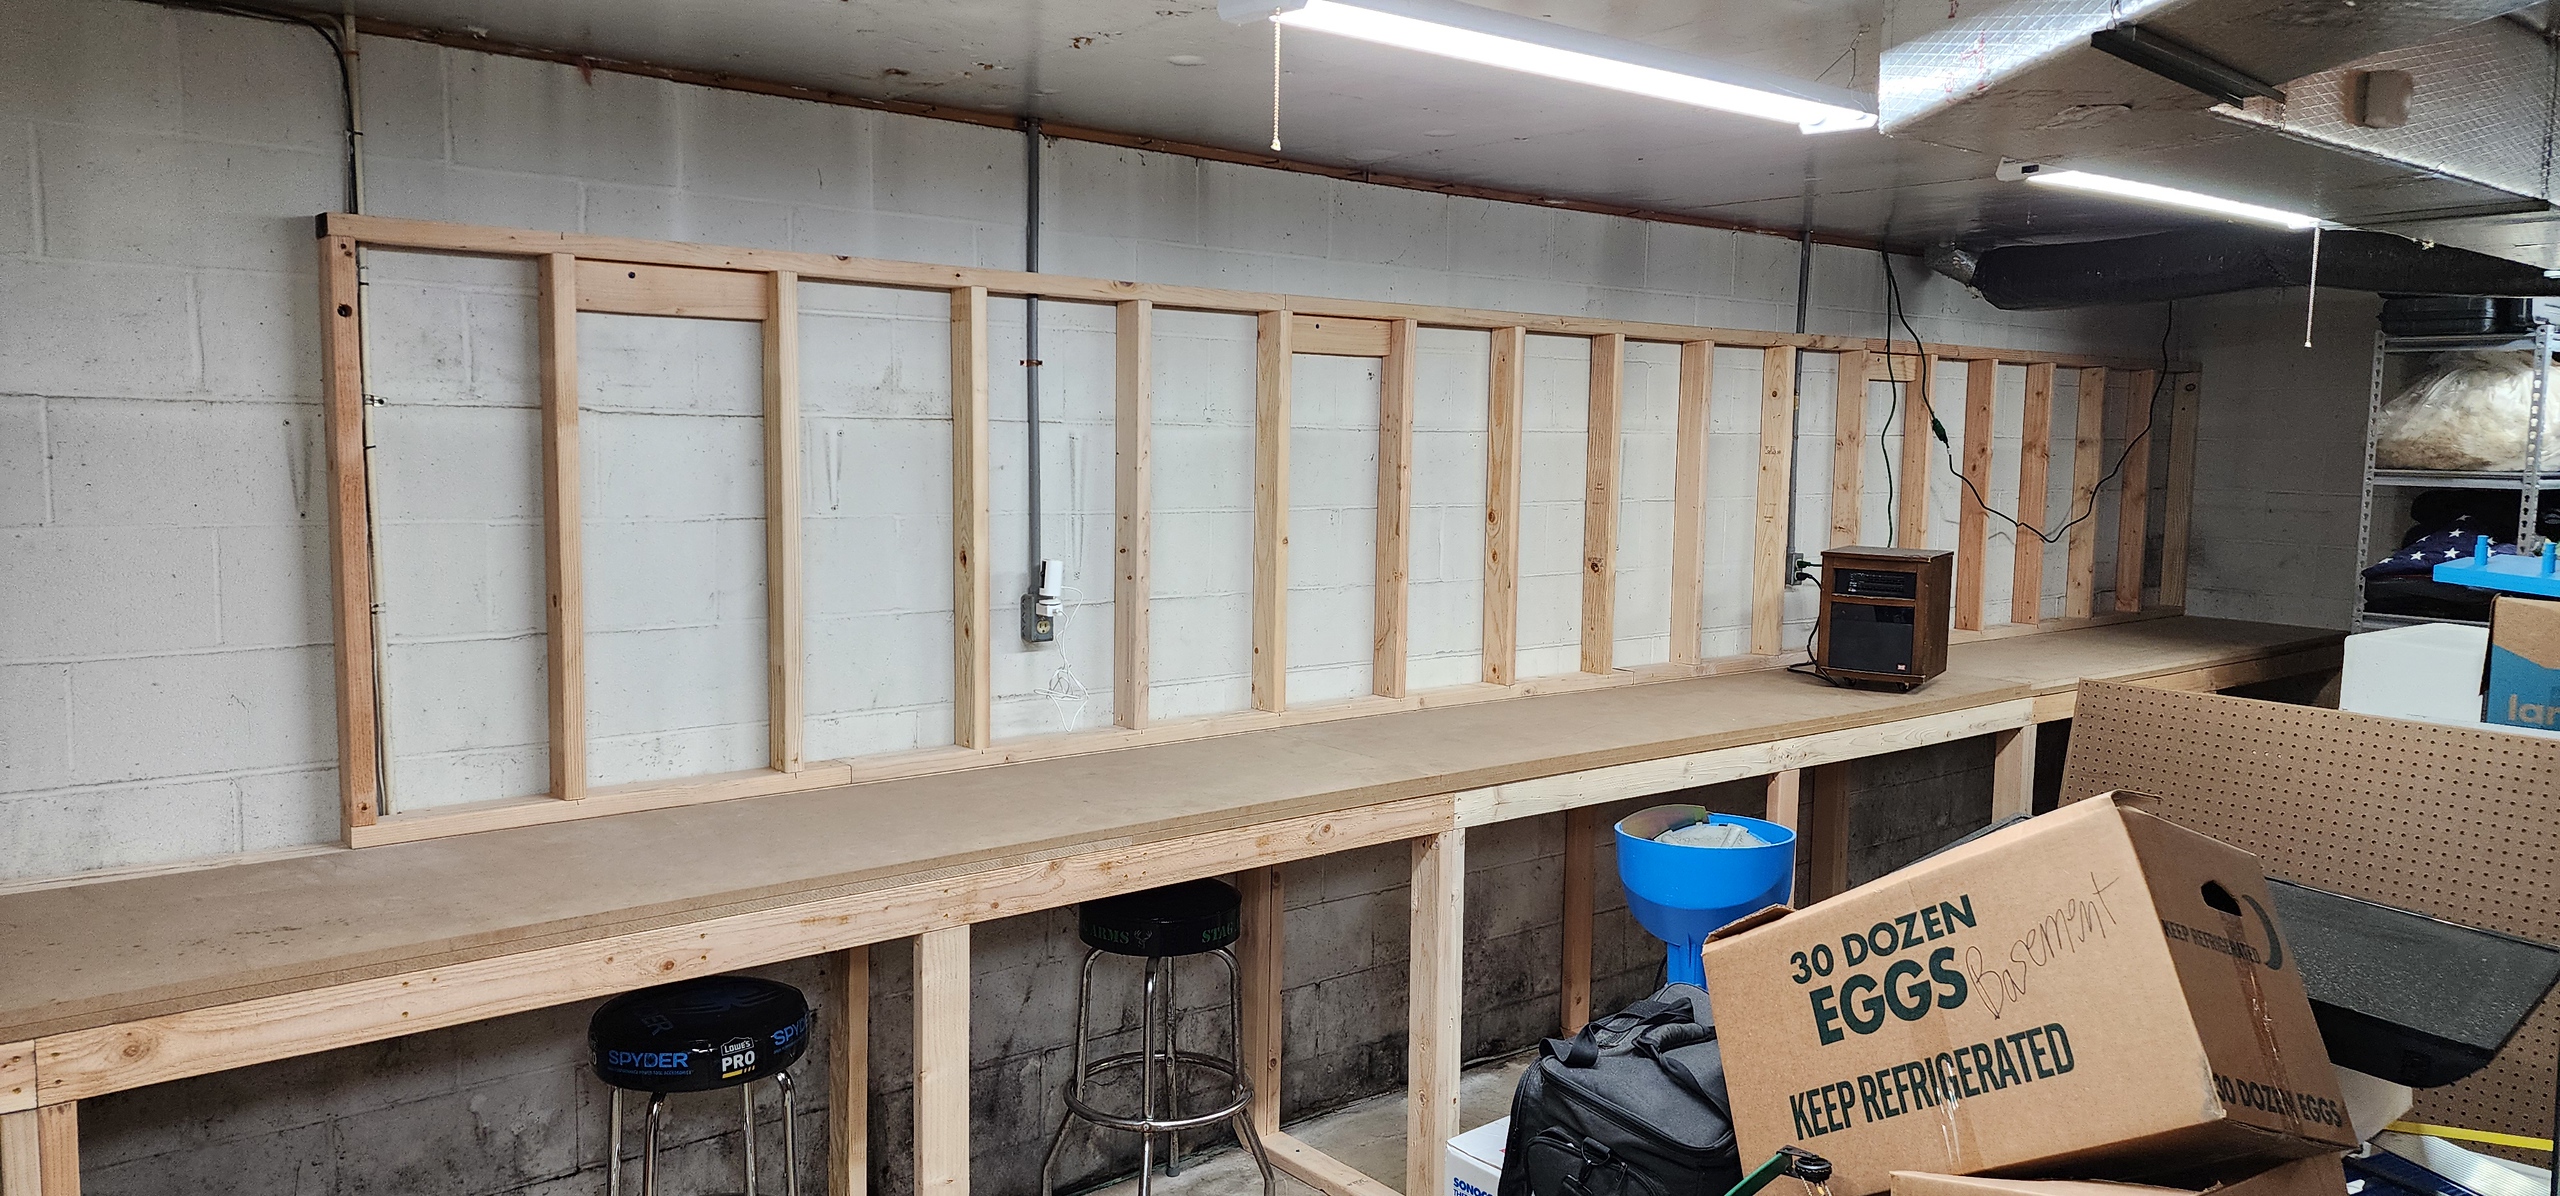
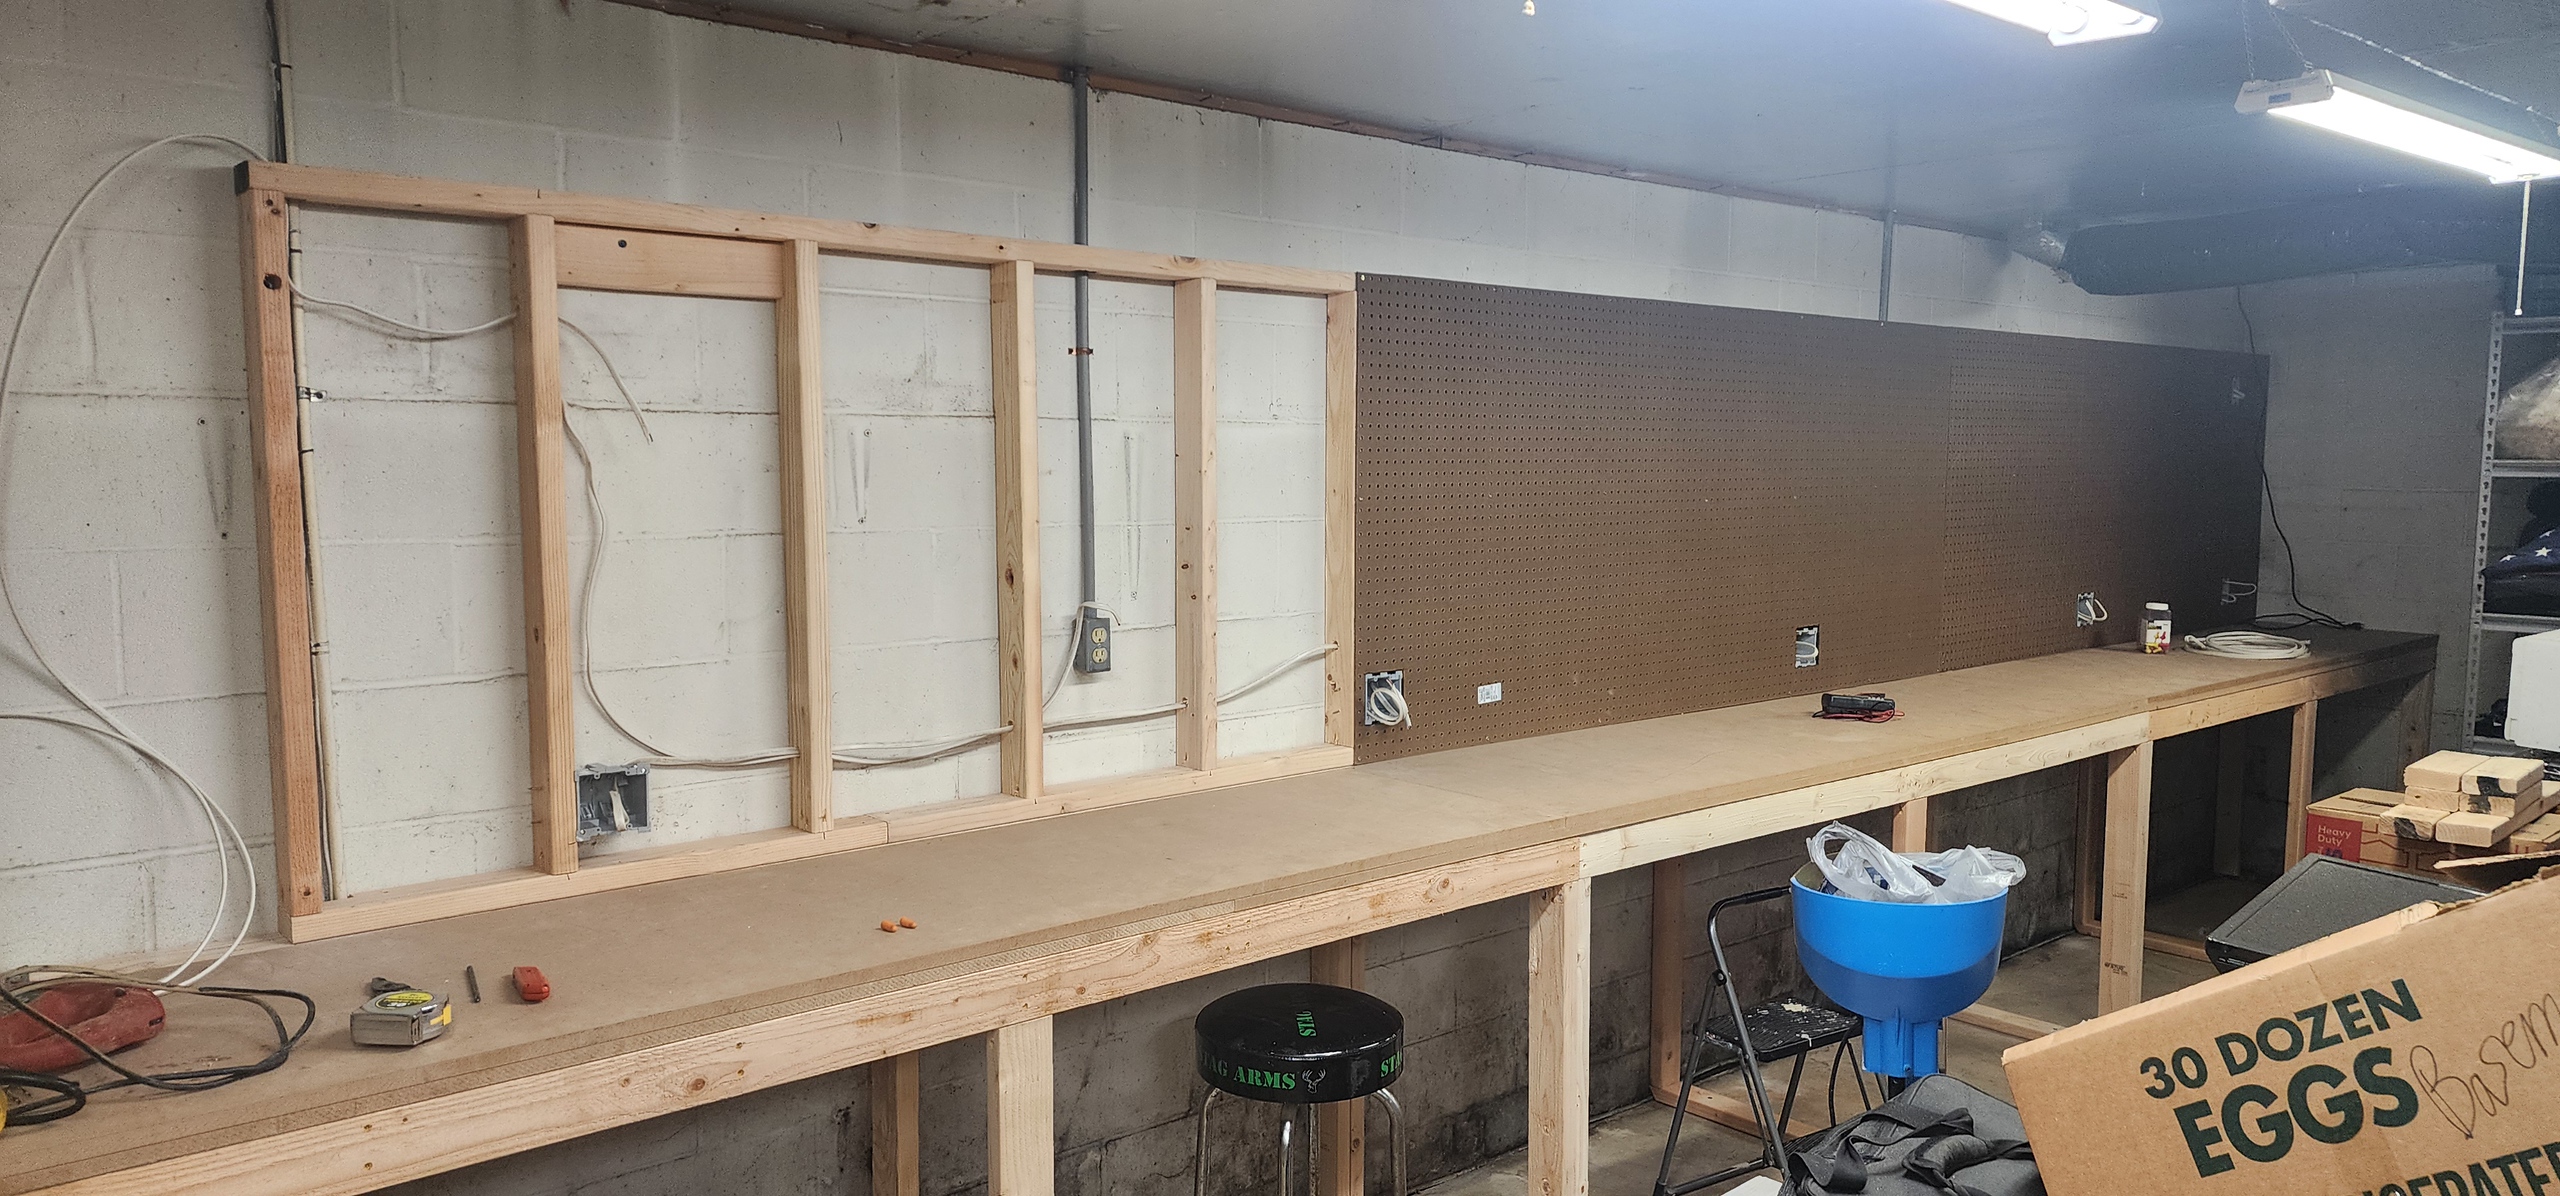
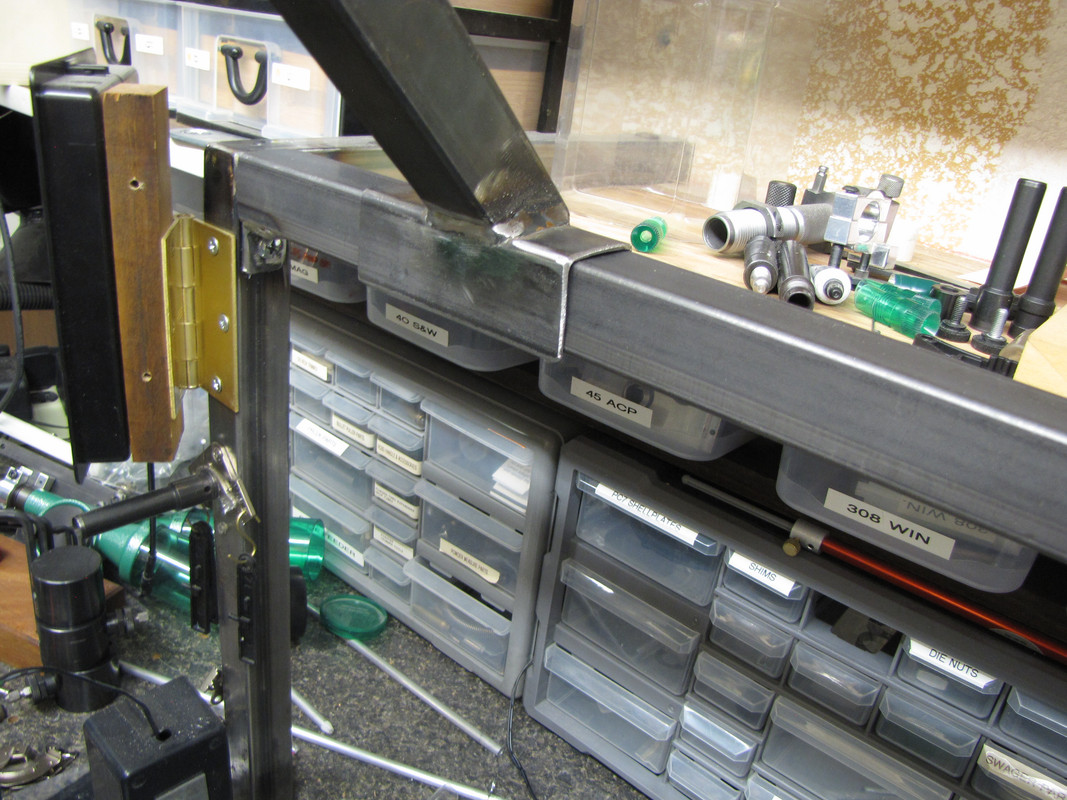
I notice you haven't put a hardwood edge on the top.....yet anyway.... What I did is mount my preseses first then cut the edging in between....why? to save space which you have in spades, in front of the bench....but you could still do that if you wanted.. I bought formica at home depot and glued it on first. What I DIDN'T do and wished I did, was mount that edge 1/8" inch higher than the bench to stop things from rolling off the front.....you know like bullets and cases and stuff!
")
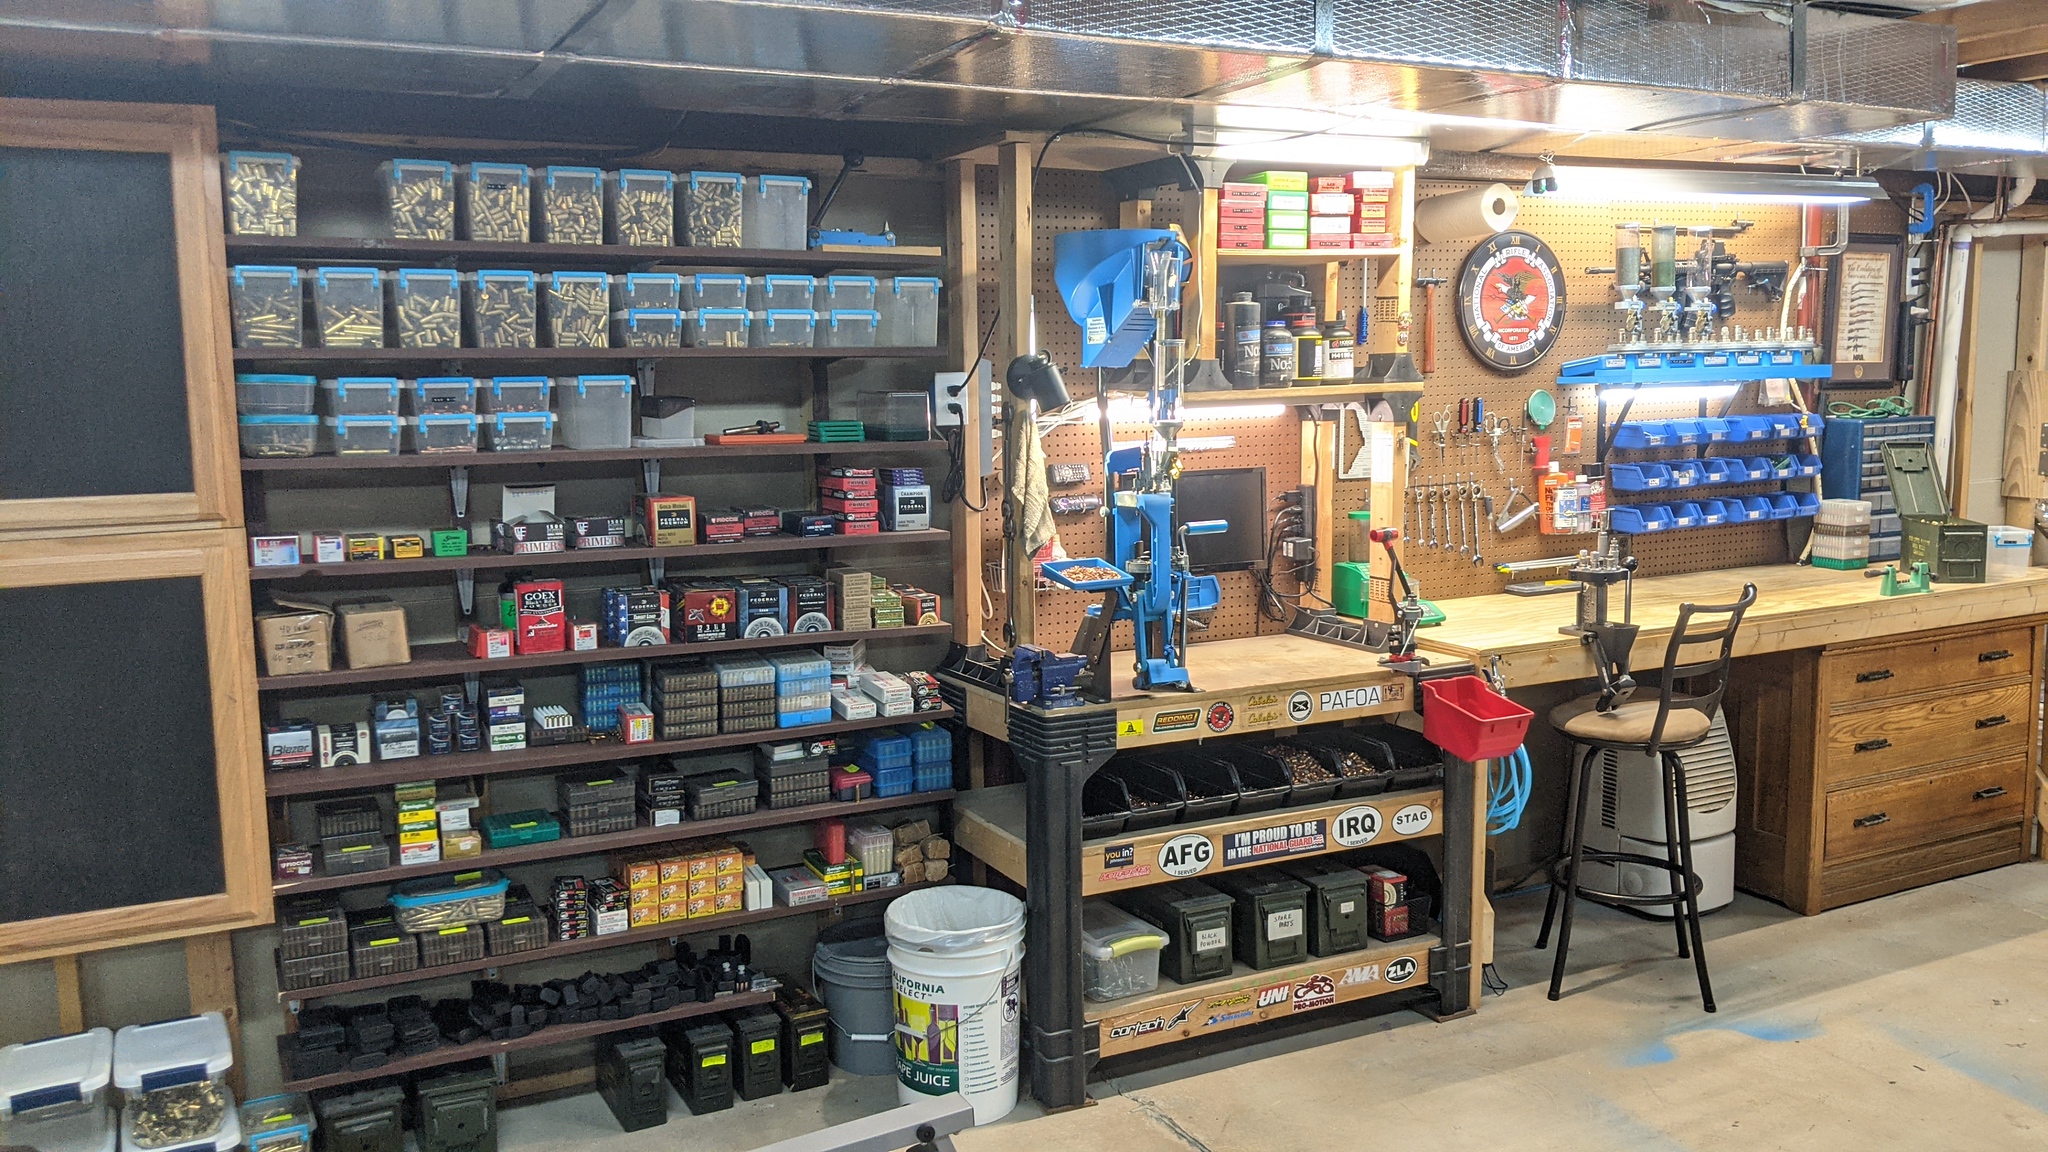
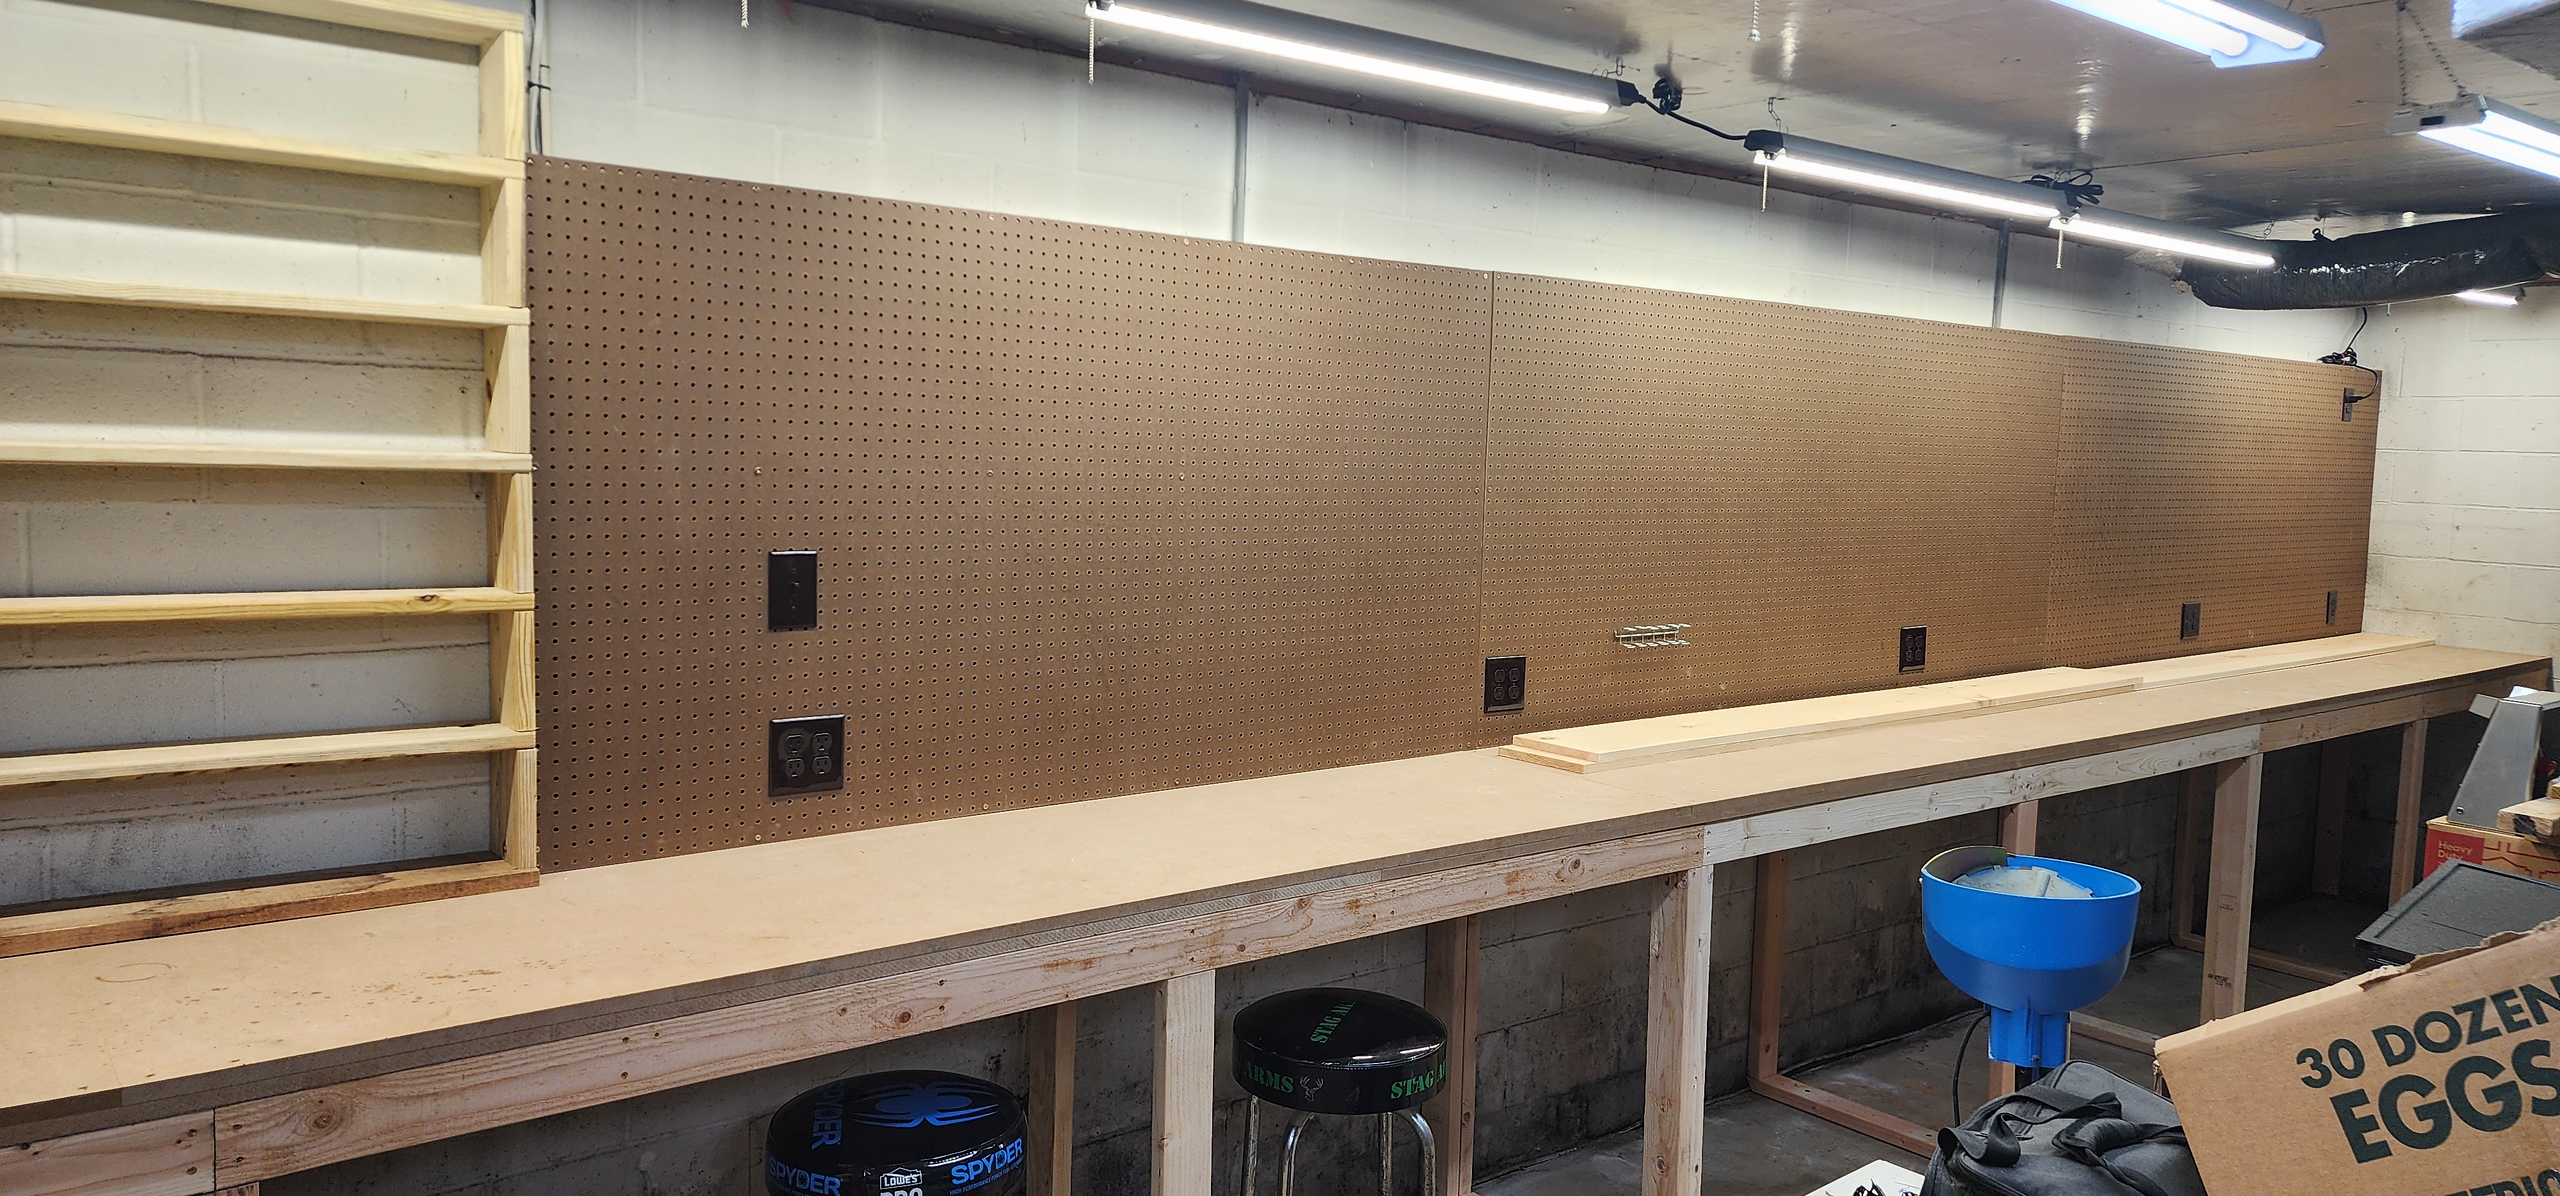
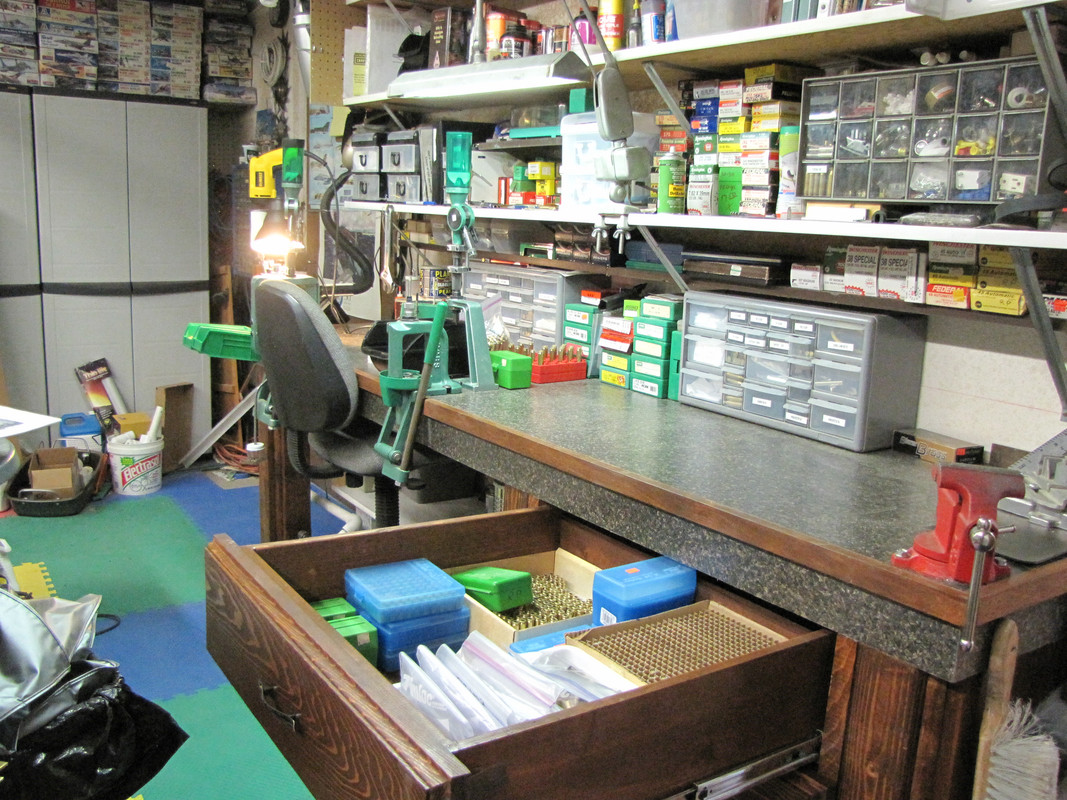
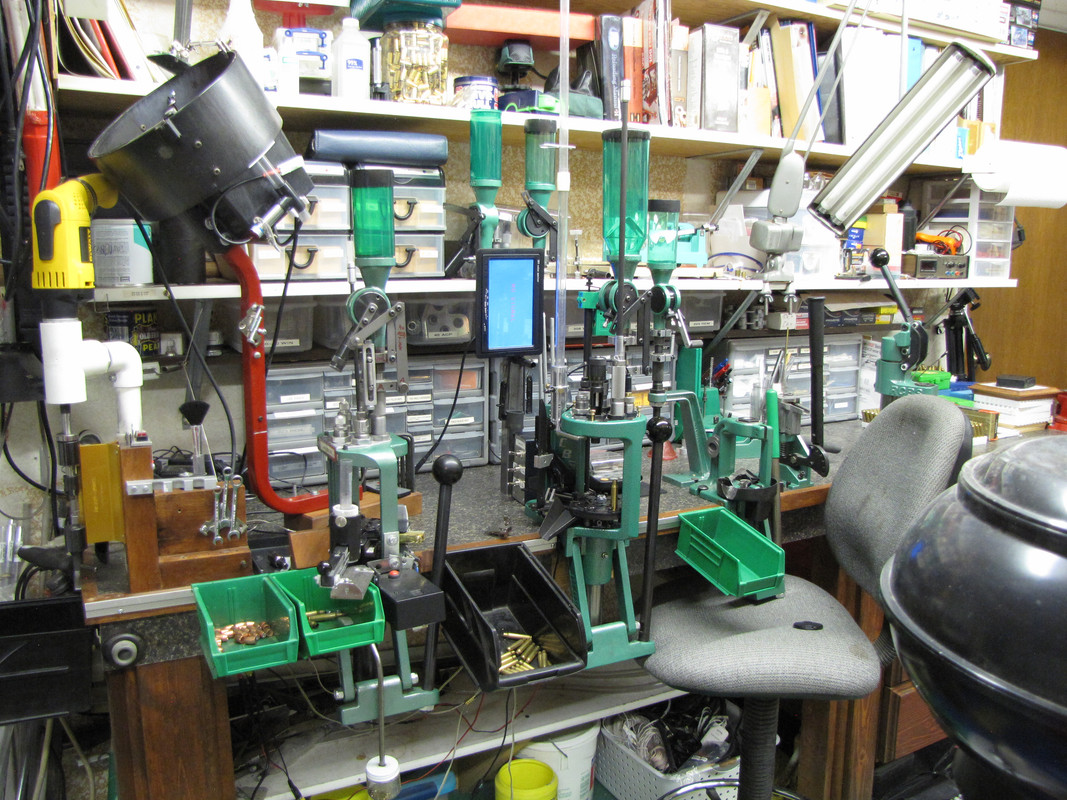
Picture below was taken years ago just after I finished, and before I crowded it with 4 more presses, 5 collators (one more to come) and a bench primer. That's when you will love all that bench!!!
I Love big drawers.....made that one from an old store fixture throwaway, to which I routered a 2x10 face and stained and glued it. I also like big massage legs made only with additional 2x4's with 3/4" quarteround molding in the exposed corners.
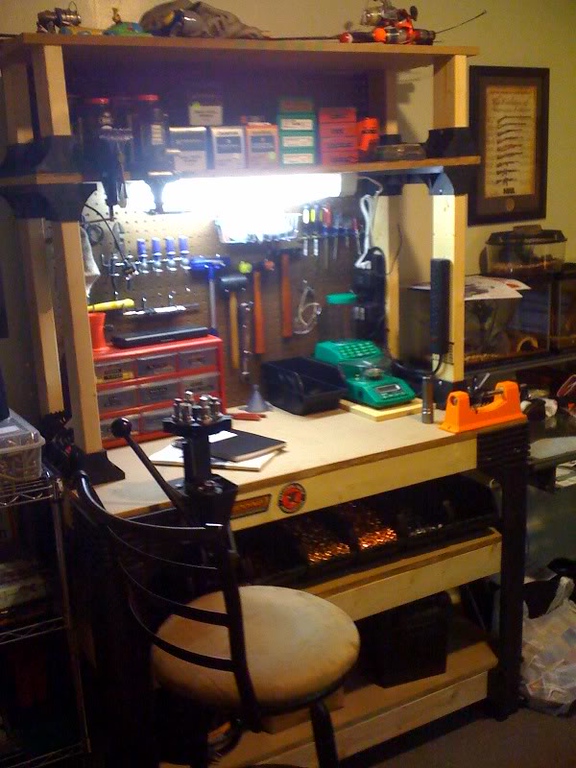
Below: After.....and still haven't added the two Red presses.....or the collator mounting rail.
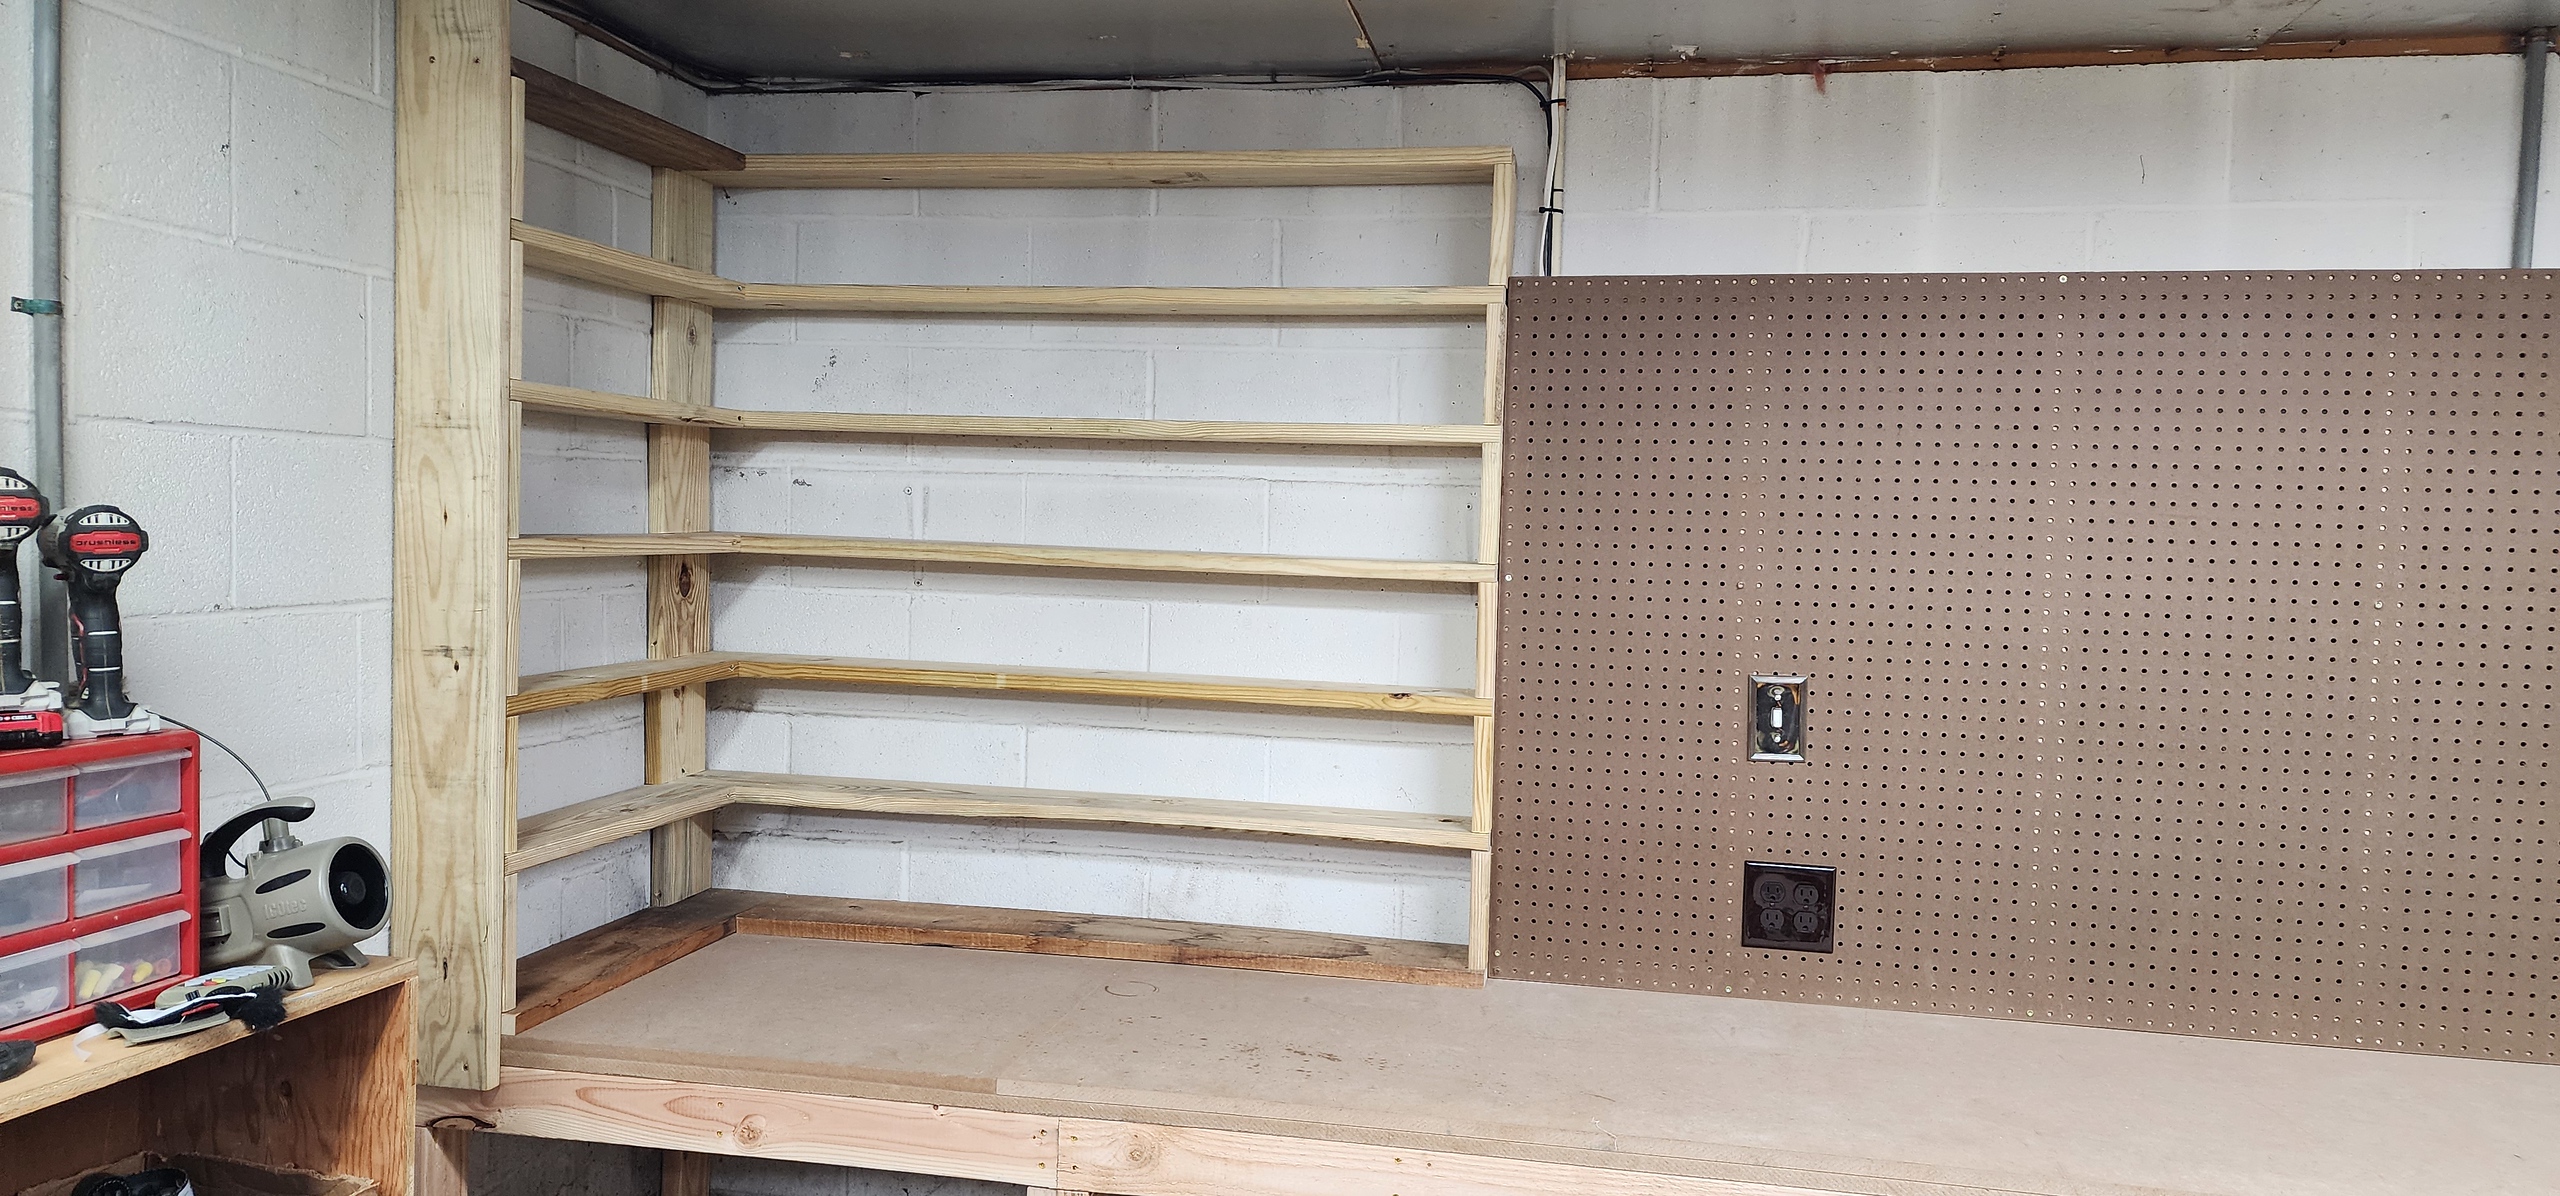
I show you these pictures just to give you ideas what you may want to do and what you may need or want to add in the future.....or
even what not to do.
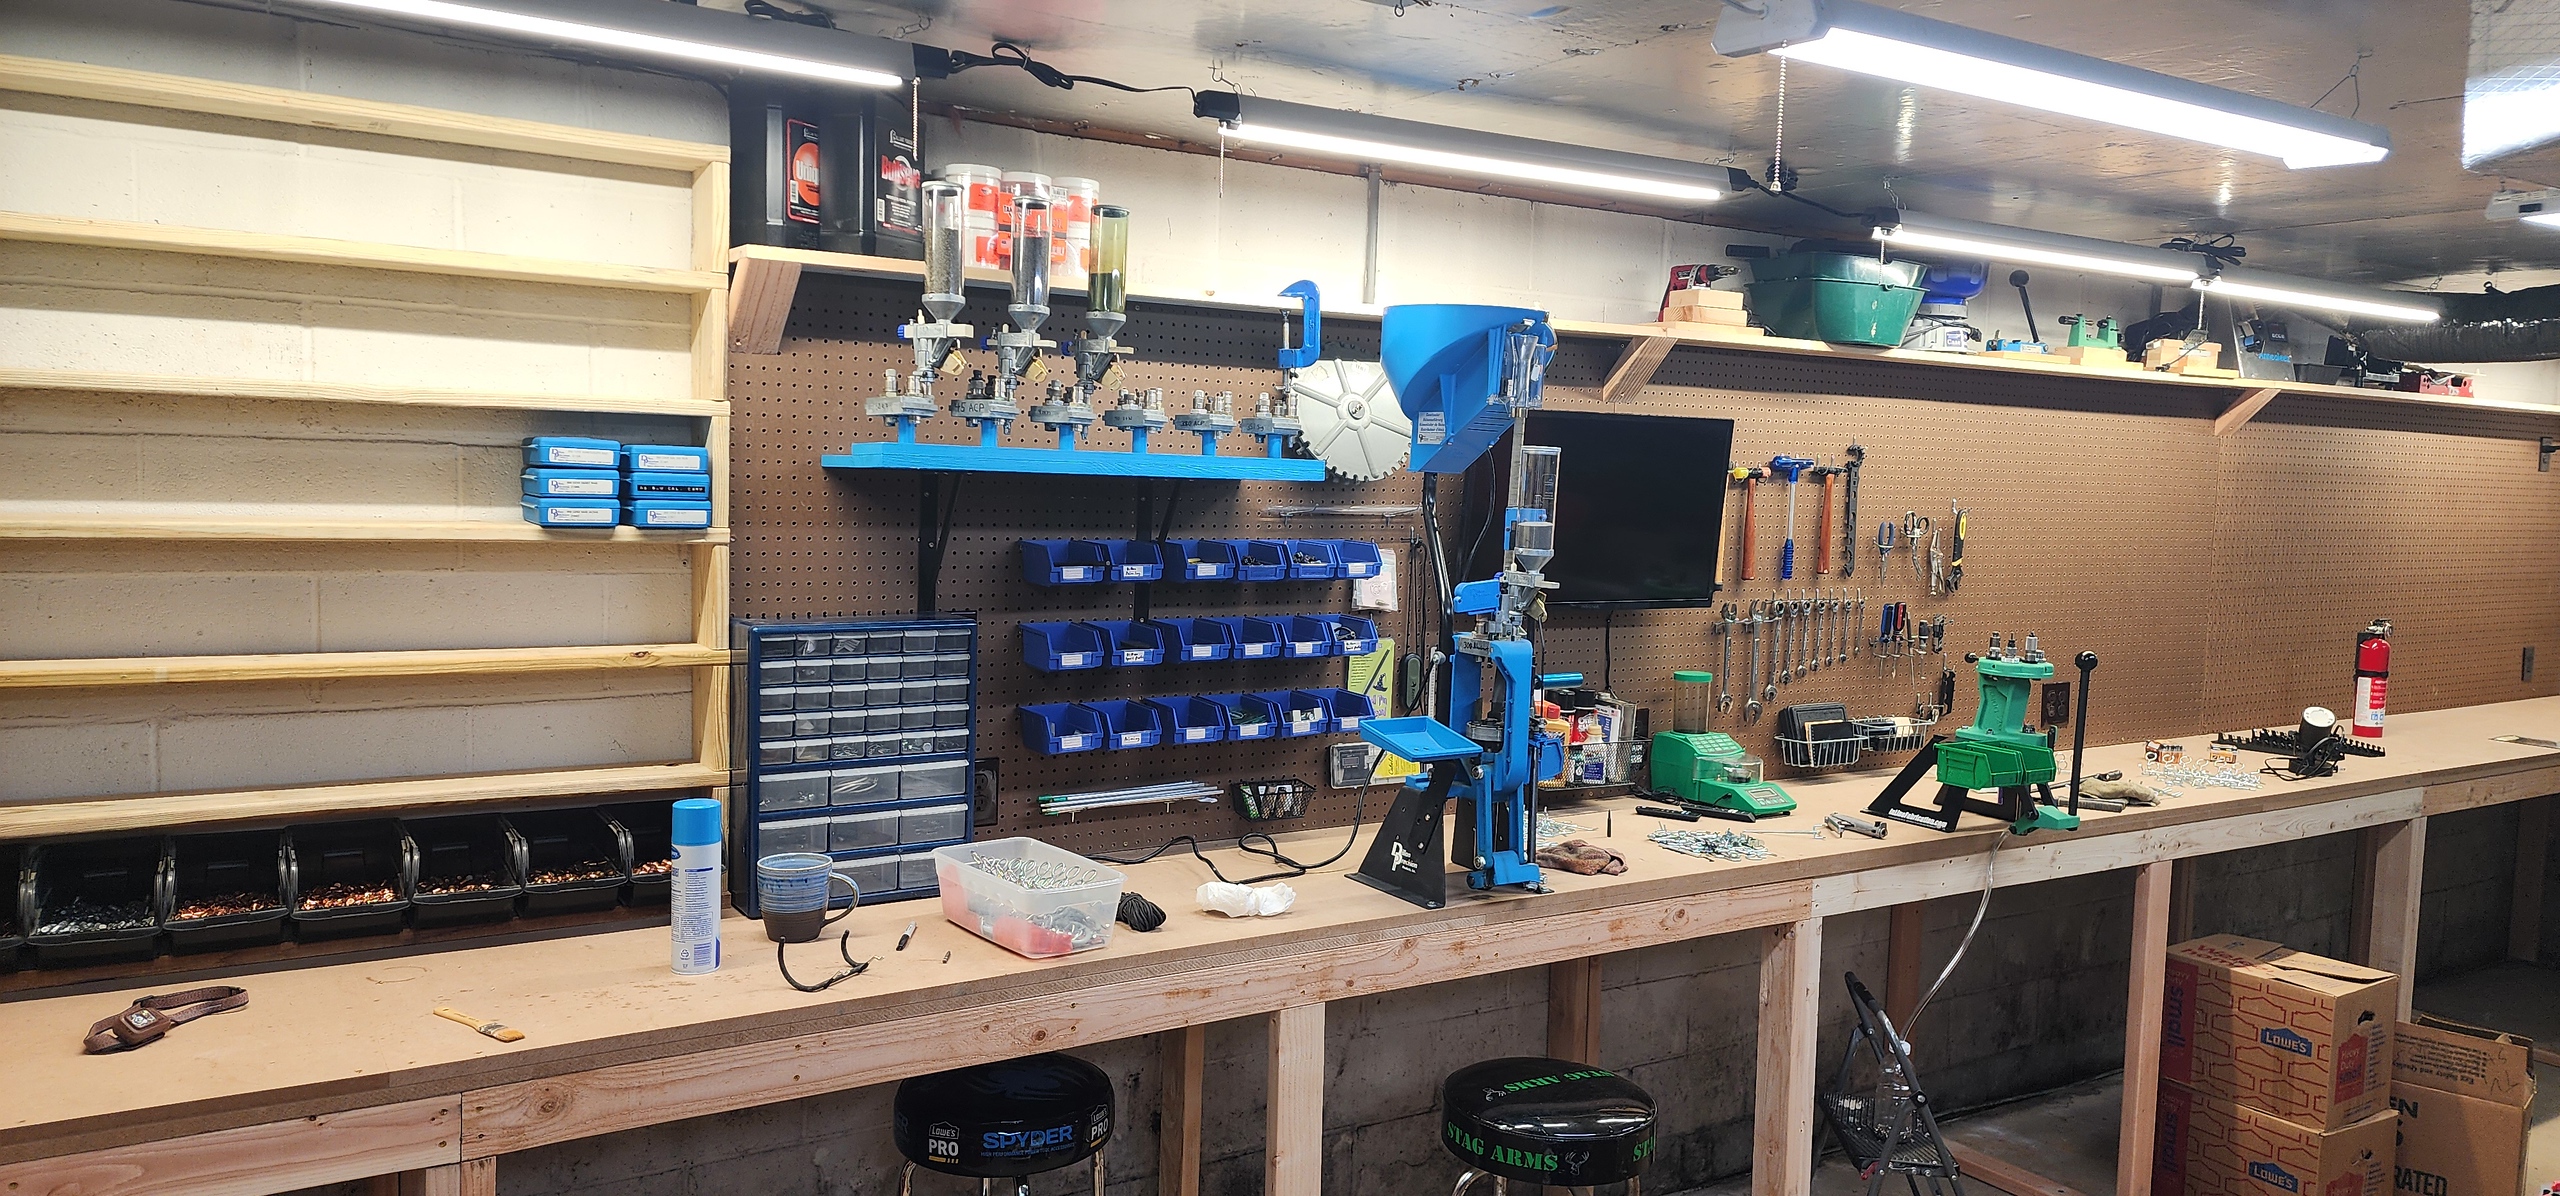
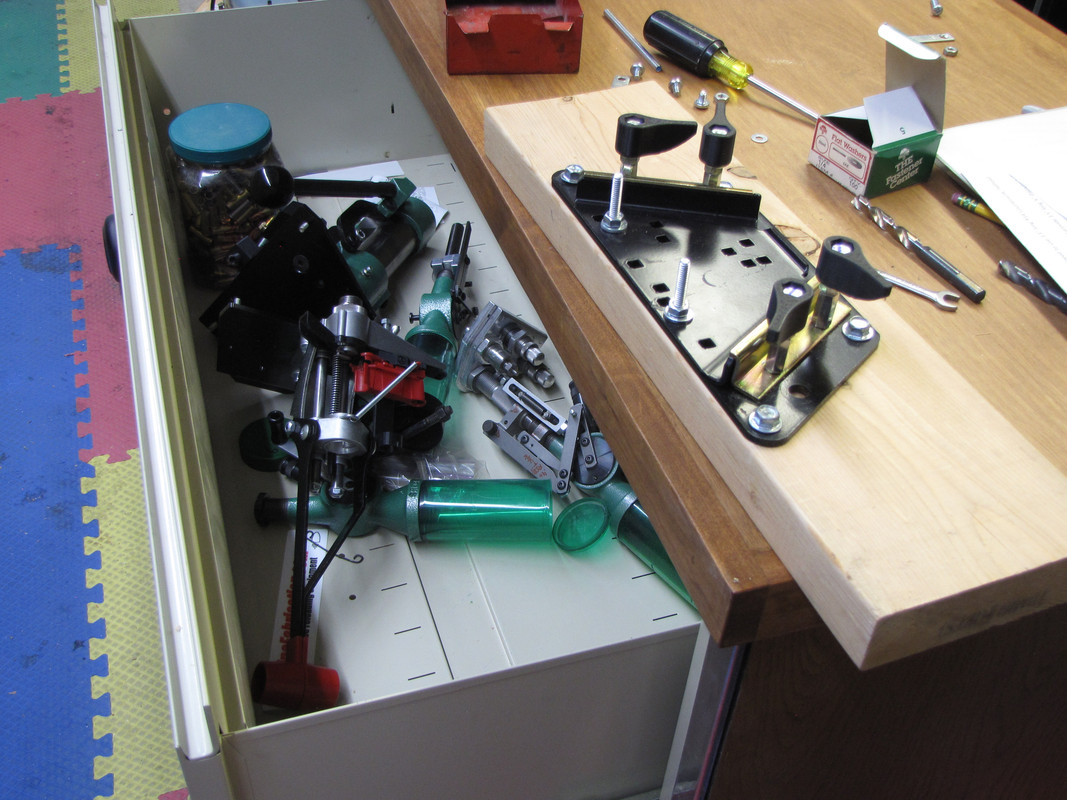
Below: 3D printer space ..... now that space is also crowded and has another print)er (notice I had to widen the top to get the depth under the existing shelf).....and below that more island bench space I had to add for case prep.....moving APP, Summit, and Rock Chucker there.. This latest "case prep" area is mades from a steel, horizontal file cabinet to which I added a wood top and edge........you might could add those wonderful big drawers from such a tile cabinet, under your bench in a place or two.....found that at a self-storage facility sale.
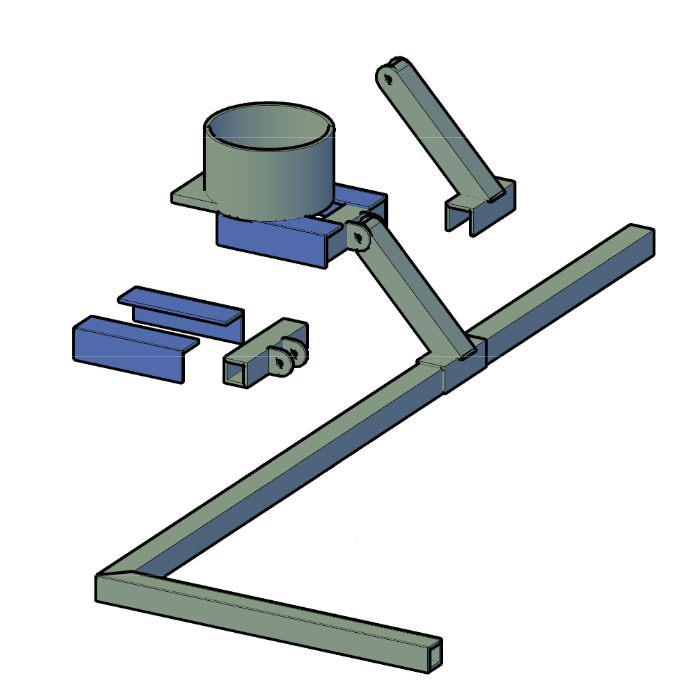
Above I was just testing improvements to the Lee mount......I prefer the Inline Fab. mounts.....but I had that one to use somewhere..... maybe......


 .
. 


