Sylvan-Forge
Member
Carrying on from Part 1 - Upper http://www.thehighroad.org/showthread.php?t=342390
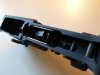
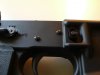
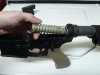
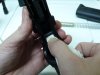
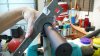
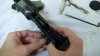
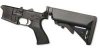
Lewis Machine & Tool Company, Inc. (LMT)
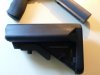
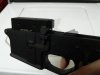
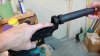
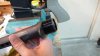
Defender lower with SOPMOD stock (model L7LB2)

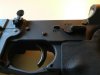
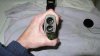
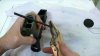
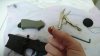
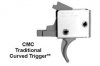
Chip McCormick Corp (CMC)
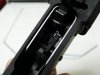
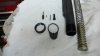
Super Match Trigger Group (model 91501)

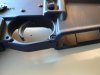
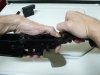
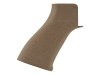
TangoDown BattleGrip

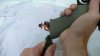
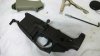
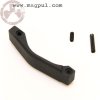
Magpul Enhanced trigger guard

.
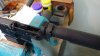
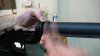
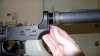
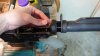
Lewis Machine & Tool Company, Inc. (LMT)
Defender lower with SOPMOD stock (model L7LB2)
Chip McCormick Corp (CMC)
Super Match Trigger Group (model 91501)
TangoDown BattleGrip
Magpul Enhanced trigger guard
.
Attachments
Last edited: