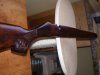
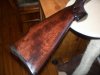
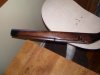
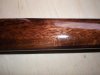
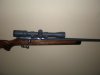
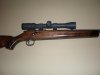
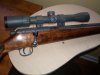
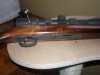
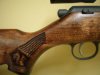
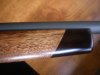
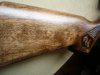
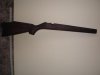
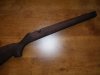
So I have been putting coat after coat of oil on this thing, and I am having a hard time filling the last little bit of grain. I steel wooled it down a lot this morning, and put another coat on, then just put a real heavy coat on this evening. I will probably suffice this to be the final coats. It is looking great, I am happy with the product.
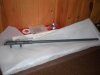
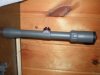
Also, today I found a local shop to glass bead blast all of my metal(barrel, reciever, bottom metal, safety, scope rings, etc). I was apprehensive about spending extra money to have someone do this work, but after 10 minutes in the blast booth, he said "don't worry about it."

a freebie from a stranger? Nice, I definately owe them one, and will return soon with some form of gratitude.
Tomorrow morning I will be going to a friends house who has a heated finishing room I can use(winter sucks).
So hopefully by saturday I will have many pictures to post!


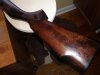
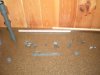
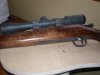
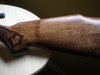
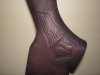
 I got the wood all cleaned up and turned my attention to bedding the action. I just wanted to bed about 3 contact points-I learned my lesson last time about over applying this stuff.
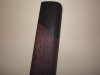
 Input from experienced Duracoaters?