Semmerling
Member
- Joined
- Jun 1, 2008
- Messages
- 128
Snipper......that was the first hint?

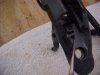
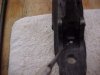
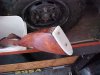
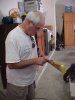
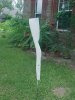
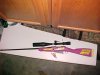
 Polishing the sear and the firing pin catch took longer than fixing the trigger. The snipper rifle project is progressing better than my expectations. Next is scope mount and bolt handle turning.(sheetrock screws) to attach it to the butt. loving it. Keep us updated!.
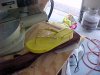
Is it bad that it sounds deliscious?I'm envisioning a bag of chocolate-and-caramel-covered rodent-meat snacks.
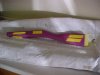
Funderb: "don't forget the stock mounted bottle opener and cork screw!!!"
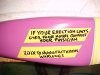
 Holy Crap that's such an awesome idea. I found sweet Miller High Life and Coors Light wall mounted bottle openers on Amazon and I'm going to mount one on my Mossberg 500 12G stock. It shouldn't get in the way as long as it's not on the cheek side. My ANTI older brother will freak out when he sees that!
Testing your gun on your dog?(it is undergoing destruction testing with my dog now)